How to Download Minecraft Skins Safely
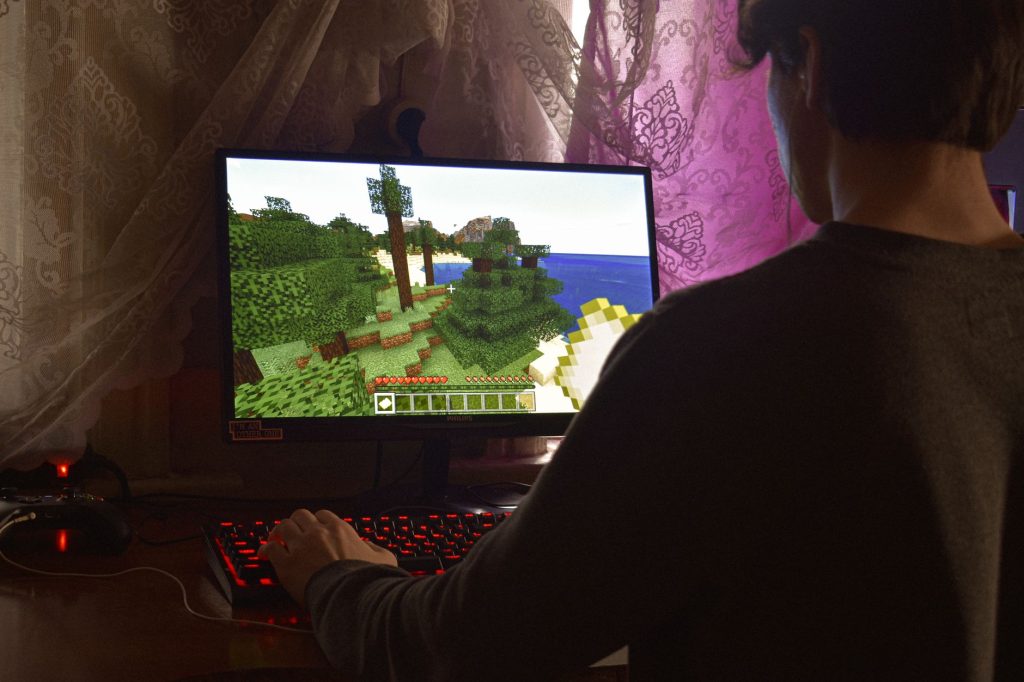
Learning how to do a safe Minecraft skins download is the difference between a quick, fun upgrade and a frustrating run-in with shady websites. A skin is just a small image file, so the process should be simple and risk-free. The trouble is that some sites bury the real download behind misleading buttons or push you to install programs you do not need. This guide shows you how to download and install skins the right way, from trusted sources only.
Follow the steps below and you will end up with a clean skin file and a character that looks exactly how you want, without ever exposing your device to anything dodgy. We will cover where to download, how to spot a trustworthy site, and the exact install steps for both editions.
Why downloading skins safely matters
A genuine skin is nothing more than a small picture in a standard image format. It cannot, by itself, do anything harmful. The risk comes from the websites that host skins, not the skins themselves. Some low-quality sites disguise advertisements as download buttons, or try to get you to run an installer that adds unwanted software. None of that is ever required to use a skin.
The rule to remember is simple: if a skin download asks you to install a program, run an executable, or sign in with your game account on a random site, stop. A real skin download gives you a single image file and nothing more. Keeping this in mind protects you from the vast majority of problems.
Choosing a trustworthy source
Sticking to reputable places removes nearly all the risk. The safest options are well-established community galleries and official channels.
| Source | Safety | Notes |
|---|---|---|
| Official character menu (Bedrock) | Very high | Built into the game, no external download needed |
| Well-known skin galleries | High | Large libraries, community ratings, direct image downloads |
| Skin editor exports | Very high | You create the file yourself, so you know exactly what it is |
| Unknown random sites | Low | Often hide downloads behind ads or installers; best avoided |
Before downloading from any gallery, glance at how the site behaves. Reputable galleries let you preview the skin on a model, show a clear download link, and never demand that you install anything. If a site feels cluttered with fake buttons or aggressive pop-ups, leave and find the same skin elsewhere.
How to download a skin step by step
Once you have chosen a trustworthy gallery, the actual download is fast and easy.
- Search the gallery for the style, character, or theme you want.
- Open the skin’s page and preview it on the model to confirm it looks right from all angles.
- Check whether it is built for the classic or slim model, and note that for later.
- Click the genuine download button for the skin image, ignoring any unrelated buttons nearby.
- Save the image file to a folder you will remember, such as your downloads or a dedicated skins folder.
After downloading, take a quick look at the file. It should be a single image, not a compressed archive or a program. If you received anything other than a plain image, delete it and download from a cleaner source instead.
Installing your downloaded skin
With a clean skin file saved, applying it is the easy part. The method depends on your edition.
Java Edition
For Java, you upload the skin image to your account profile, either through the official website or the launcher. Select the matching model type, classic or slim, then confirm. The new look applies to your account, so it appears on every server you join. If it does not show immediately, restarting the game refreshes it.
Bedrock Edition
For Bedrock, open the character menu inside the game and choose the option to import a custom skin. Point it at the image file you downloaded, pick the correct model type, and apply. Your character updates straight away, and you can switch back to other skins from the same menu whenever you like.
For a fuller walkthrough of the install screens in both editions, our guide on how to install a Minecraft skin covers each step in detail.
Avoiding common mistakes
A few simple habits keep your downloads smooth. Always confirm the file is a single image before doing anything with it. Match the model type to the skin so the arms line up correctly. If you plan to download many skins, keep them in one organised folder so you do not lose track of which is which. And if a skin will not load, it is almost always the wrong size or shape, which means it was not made as a proper skin file, so download it again from a reliable gallery.
Downloading is just the start of customising your character. If you want to design something completely original instead of using a ready-made file, our broader guide to finding, making and applying skins explains how to build your own from scratch in a free editor.
Frequently asked questions
Are downloaded skins safe to use?
Yes, as long as you download only the image file from a reputable source. A skin is a harmless picture; the only risk comes from untrustworthy websites, which you avoid by sticking to well-known galleries or the official in-game menu.
Do I need to install any software to download a skin?
No. A genuine skin download is just an image file. If a site insists you install a program or run an executable to get a skin, treat that as a warning sign and find the skin elsewhere.
What file should a downloaded skin be?
It should be a single standard image file. If you instead receive an archive, an installer, or anything that needs to be run, it is not a proper skin and should be deleted.
Why will my downloaded skin not load in game?
The usual cause is that the file is the wrong size or shape, meaning it was not created as a valid skin. Re-download it from a trusted gallery, and make sure you selected the correct classic or slim model type.
Can I download skins for both Java and Bedrock?
You can use the same image for both, but each edition applies it differently. Java uses your account profile, while Bedrock imports the file through the in-game character menu.
Ready to start your world?
Browse the guides, or tell us your server project and we will point you in the right direction.